
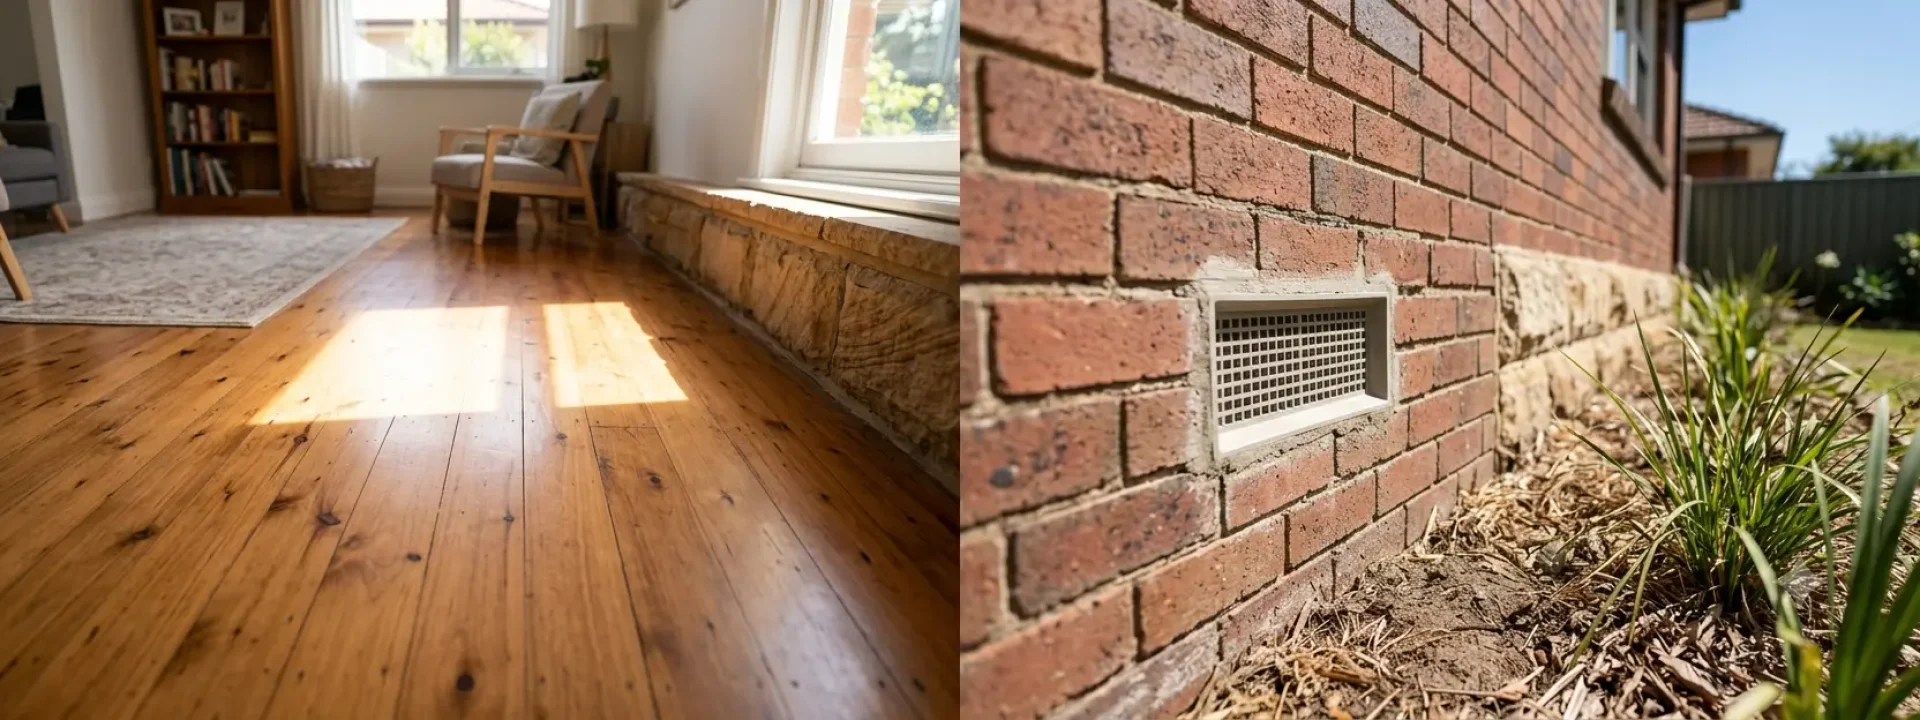
A note on this article before you read further: This subfloor ventilation case study you will find below is an illustrative, composite scenario, not an account of a specific real client or property. It draws on the patterns, findings, and outcomes described in general terms throughout our other guides – on soil science, air circulation, installation, and moisture diagnosis – to show what a typical damp-to-dry transformation looks like from assessment through to resolution. We’ve built it this way deliberately rather than attaching invented specifics to a fictional “client,” because presenting made-up before-and-after figures as a genuine customer story would be misleading. If you’d like to see real project outcomes, ask us directly for verified examples from completed work.
With that framing clear, here’s what a subfloor ventilation case study Sydney property typically looks like when it moves from a persistent damp problem to a properly ventilated, dry subfloor.
The Starting Point: A Common Sydney Scenario
The scenario below reflects a pattern that comes up repeatedly across the kinds of properties discussed throughout this site – an older, single-storey home on a reactive clay site in one of Sydney’s established suburbs, similar to conditions common across Parramatta, Liverpool, or parts of the broader Cumberland Plain, as described in our guide to Sydney’s soil and moisture science. This subfloor ventilation case study Sydney scenario is built to reflect that recognisable pattern as closely as possible while remaining clearly illustrative rather than a report of a real address.
The Presenting Problem
In this kind of scenario, a homeowner typically first notices a persistent musty smell in ground-floor rooms, particularly noticeable after rain and slow to clear even during dry spells. Some cupping or slight unevenness may be noticeable in timber flooring in one or two rooms, and there might be a faint, intermittent water stain near a skirting board that the homeowner initially assumes is a one-off event rather than an ongoing issue.
Why This Pattern Is So Common
This combination – musty odour, minor flooring irregularity, and an easily dismissed stain – is a recognisable early-stage pattern precisely because each individual symptom is easy to explain away on its own. It’s usually only once several signs appear together, or persist despite a good clean and some fresh air through the house, that a homeowner in this position starts looking into what might actually be happening underneath the floor.
Step One: Initial Assessment
In a typical subfloor ventilation case study Sydney scenario like this, the process usually begins with a booked assessment rather than an emergency callout, since the symptoms described above develop gradually rather than announcing themselves suddenly.
What an Assessment Commonly Finds
A thorough assessment, following the process outlined in our installation guide, would typically involve checking the property’s existing vents, measuring subfloor humidity at several points, checking ground clearance, and noting the property’s construction era and likely soil conditions. In a scenario like this – an older home on reactive clay – a common finding is a set of original vents that were adequate when the home was built decades earlier, but which no longer meet what current subfloor ventilation standards would recommend for the site’s actual moisture load. A ventilation systems specialist assessing this kind of property would typically flag the gap between the original design and current requirements as the starting point for any recommended upgrade.
Distinguishing the Underlying Causes
A careful assessment in this kind of scenario would typically separate out two distinct contributing issues rather than treating “dampness” as one single problem: general subfloor humidity from inadequate airflow relative to the reactive clay’s moisture-holding behaviour, described in our guide to Sydney’s soil science, and a localised capillary moisture pattern near the affected skirting board consistent with early-stage rising damp, as distinct from the general ventilation issue. This distinction matters because, as covered in our subfloor air circulation guide, ventilation alone doesn’t resolve capillary rising damp, and treating the wrong problem wastes both time and money.
Step Two: Diagnosis and Design
Once the assessment identifies these two separate issues, a properly scoped response addresses each on its own terms rather than applying a single generic fix.
Sizing a Ventilation Upgrade to the Actual Site
For a reactive clay site experiencing this pattern, a typical design response – following the principles in our air circulation science guide – would call for a ventilation capacity increase beyond the bare Code minimum, reflecting the additional moisture load reactive clay soils place on a subfloor compared with a sandstone-based site. Depending on the specific layout, this might mean additional passive vents, upgraded vent covers replacing undersized originals, or a mechanical ventilation systems approach if the site’s wind exposure or internal subfloor layout makes passive airflow alone unreliable. A subfloor ventilation specialist would typically present these options with a clear explanation of why one suits the property better than the other, rather than defaulting to a single standard package.
Scoping the Rising Damp Component Separately
For the localised capillary moisture near the affected skirting board, a typical response would involve a dedicated rising damp treatment assessment – checking whether an existing damp-proof course is present, damaged, or simply absent, as is common in older homes discussed in our heritage ventilation guide, and specifying an appropriate treatment such as a retrofit damp-proof course if needed.
Checking for Related Conditions
A thorough scope in this kind of scenario would also typically include a check for termite conducive conditions, given the connection between subfloor dampness and termite risk discussed in our termite prevention guide, and a visual check for any early mould growth on affected timber that might need professional mould solutions alongside the ventilation and rising damp treatment work.
Step Three: The Work Itself
Following the general installation process described in our guide to what to expect during installation, work in this subfloor ventilation case study Sydney scenario would typically proceed in a logical sequence.
Addressing the Moisture Source First
Sensible sequencing generally means addressing external drainage – clearing gutters, checking downpipe discharge points, and confirming ground grading – before or alongside the ventilation upgrade itself, since improving airflow while water continues pooling against the foundation only partially addresses the underlying problem.
Installing the Ventilation Upgrade
The ventilation work itself – upgrading or adding vents, and installing any mechanical system specified in the design – would follow the sequence described in our installation guide: site preparation, the physical installation, electrical work where relevant, and final testing and commissioning to confirm the system performs as designed.
Completing the Rising Damp Treatment
Where a retrofit damp-proof course is part of the scope, this work is generally carried out as its own distinct task, since it addresses a different moisture mechanism to the general ventilation upgrade, as explained throughout our guide to the science behind Sydney’s soil and moisture conditions. Confirming this rising damp treatment work separately from the ventilation upgrade, with its own sign-off, keeps the two distinct scopes of work clearly documented.
Step Four: What Improvement Typically Looks Like
Rather than presenting invented specific numbers, it’s more honest and more useful to describe the general pattern of improvement a well-diagnosed and properly executed response like the one in this subfloor ventilation case study Sydney scenario typically produces.
An Initial Adjustment Period
As discussed in our installation guide, subfloor humidity doesn’t usually drop to its final stable level immediately. In a scenario like the one described here, some improvement in airflow and odour is typically noticeable relatively quickly, while full stabilisation – as improved airflow works through moisture already absorbed into surrounding timber and soil – generally continues over the following weeks.
Resolution of the Original Symptoms
Where the diagnosis was accurate and the work properly executed, the musty odour typically resolves as ongoing subfloor humidity drops to a normal range, further flooring movement typically stops once the underlying moisture source is addressed, and the localised staining near the treated skirting board typically doesn’t recur once the rising damp treatment has taken effect.
Confirming the Outcome Through Monitoring
A properly handled scenario like this would include follow-up humidity monitoring, comparing readings against the baseline taken during the original assessment, rather than relying on the homeowner’s subjective impression alone to confirm the work achieved its intended result – consistent with the monitoring practices discussed in our annual maintenance guide.
How This Scenario Would Differ on Other Sydney Soil Types
Because the illustrative scenario above is specifically set on a reactive clay site, it’s worth walking through how a subfloor ventilation case study Sydney property on different soil conditions would typically look different, to avoid readers assuming this single pattern applies everywhere.
A Sandstone-Based Property
On a sandstone-derived site, common across parts of the North Shore and Northern Beaches, the same starting symptoms – musty odour, minor flooring irregularity – would be less likely to trace back to a slow-draining, moisture-holding soil, and more likely to point toward a specific, localised cause: a blocked vent, a leaking pipe, or poor surface drainage directing water toward one section of the subfloor. The diagnostic process would still follow the same structure – assessment, distinguishing separate causes, targeted treatment – but the underlying moisture source and the resulting scope of work would typically look different.
A High-Water-Table Coastal Property
For a property in a low-lying, high-water-table location – similar to conditions near Botany or other Eastern Suburbs locations discussed in our soil and moisture science guide – a comparable subfloor ventilation case study Sydney scenario would more likely centre on persistent ambient humidity linked to groundwater proximity rather than a shrink-swell clay cycle, generally calling for a mechanical ventilation approach designed around continuous air exchange rather than the seasonal, event-driven pattern more relevant to reactive clay sites.
A Heritage-Listed Property
Where a comparable scenario involves a heritage-listed home, as discussed in our heritage ventilation guide, the diagnostic findings might be similar – original, undersized vents and an absent damp-proof course – but the response would need to incorporate heritage-appropriate vent products and, potentially, council approval, adding a regulatory step not present in the non-heritage scenario described above.
General Cost and Timeline Expectations
Rather than attaching specific invented dollar figures or exact durations to this illustrative scenario, it’s more useful and more honest to describe the general shape these projects typically take.
Assessment Through to Completion
A project resembling this scenario typically moves through the stages described in our installation guide – assessment, design, any required approvals, the installation itself, and final testing – with the overall timeline depending heavily on property access, the extent of work required, and whether a rising damp treatment is being carried out alongside the ventilation upgrade rather than as a separate project.
Why We’re Not Quoting a Specific Price Here
Actual costs depend on property size, subfloor accessibility, the specific soil and moisture conditions found, and whether additional work like rising damp treatment or mould remediation is needed alongside ventilation. A subfloor ventilation case study Sydney article that quoted a specific dollar figure without an actual real project behind it would be inventing a number with no basis, which is exactly the kind of fabricated precision this article is deliberately avoiding. For an accurate cost specific to your property, a quote following a proper on-site assessment is the only reliable source.
A Simple Timeline Summary
Bringing the stages of this illustrative subfloor ventilation case study Sydney scenario together: symptoms noticed (musty odour, minor flooring movement, intermittent staining) → assessment booked and carried out (vent condition, humidity readings, ground clearance, soil context) → diagnosis separating general subfloor humidity from localised rising damp → design scoped separately for ventilation capacity and damp-proofing → drainage corrected → ventilation upgrade installed and commissioned → rising damp treatment completed → adjustment period as humidity stabilises → follow-up monitoring confirms resolution. Each stage mirrors the general process described across our installation, air circulation, and moisture science guides, applied here to one illustrative, composite property rather than a real address.
What This Scenario Illustrates for Sydney Homeowners
The value of walking through a scenario like this isn’t the specific (illustrative) details – it’s the underlying pattern, which applies broadly across many similar properties.
Multiple Symptoms Often Point to Multiple Causes
One of the clearest lessons from this kind of scenario is that a cluster of symptoms – odour, flooring movement, and staining – doesn’t always trace back to a single cause. Treating “dampness” as one undifferentiated problem, rather than properly distinguishing general subfloor humidity from capillary rising damp, is a common way well-intentioned attempts at a fix fall short.
Older Homes on Reactive Clay Face a Predictable Pattern
Properties matching this profile – older construction, reactive clay soil, original ventilation never upgraded – follow a recognisable pattern often enough that experienced assessors can anticipate roughly what they’ll find before even opening the subfloor access hatch, though a proper site-specific assessment remains necessary to confirm the specific detail for any individual property.
Addressing the Full Picture Produces More Durable Results
Where a response addresses drainage, ventilation capacity, and any separate rising damp issue together – rather than any single element in isolation – the outcome tends to be considerably more durable than a partial fix targeting only the most obvious symptom.
If Your Situation Resembles This Scenario
If the pattern described in this illustrative subfloor ventilation case study Sydney scenario sounds familiar – a persistent musty smell, minor flooring irregularities, or a stain that keeps coming back – the same general process applies: a proper assessment first, a diagnosis that separates distinct underlying causes rather than assuming a single fix will address everything, and a scope of work matched to what’s actually found rather than a generic package applied regardless of site conditions.
Why We Wrote This as a Scenario Rather Than Skipping the Format Entirely
It would have been simpler to leave this topic out altogether rather than write an illustrative version, but a walkthrough like this genuinely helps readers understand what a proper diagnostic and remediation process looks like in practice, in a way that a purely abstract discussion of principles sometimes doesn’t. The trade-off we’ve made is transparency: every detail here is presented as illustrative of a common pattern, not as a verified account, and we think that’s a more honest way to convey the same educational value a genuine case study would otherwise provide.
Purposeful Information
Q: Is this a real customer’s home?
A: No. This is a deliberately labelled illustrative, composite scenario built from patterns common across many Sydney properties, not an account of a specific real client or address. We’ve been upfront about that throughout this guide.
Q: Why not just share a real case study instead?
A: We’d rather do that properly, with a real client’s genuine permission and verified figures, than invent specific numbers and present them as fact. If you’d like to see documented real project outcomes, get in touch and we can discuss what’s available to share.
Q: How long does a project like the one described typically take from assessment to resolution?
A: It varies by property and scope, but generally follows the sequence described in our installation guide – assessment, design, the installation itself, and an adjustment period afterward as subfloor conditions stabilise. A provider can give you a specific estimate once they’ve assessed your property, since this illustrative subfloor ventilation case study Sydney scenario deliberately avoids attaching a specific invented duration.
Q: Does every damp Sydney home have both a ventilation issue and rising damp?
A: No. Some properties have only one of these issues, and some have neither, with the moisture traced to a different cause like a plumbing leak or poor surface drainage. The scenario here reflects a common combination on reactive clay sites specifically, not a universal pattern.
Q: How do I find out which of these issues applies to my own home?
A: A proper subfloor assessment, covering humidity readings, vent condition, ground clearance, and a check for capillary moisture patterns, is the reliable way to find out – rather than assuming your situation matches this or any other general scenario exactly.
This article is an illustrative, composite scenario created for educational purposes and does not describe a specific real property, customer, or project. It is intended to demonstrate a typical diagnostic and remediation process rather than to report verified outcomes. For an assessment and outcome specific to your own property, consult a qualified subfloor ventilation specialist.